
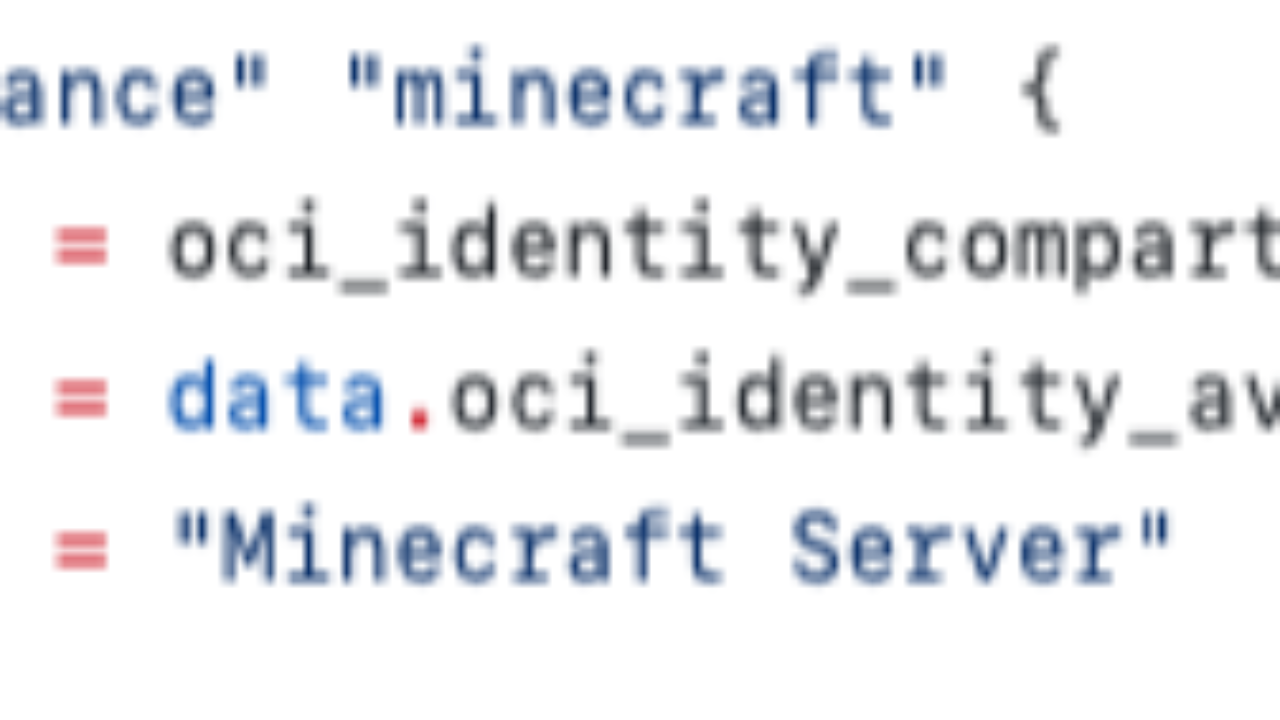
OCI Custom Image lookup in Terraform
Mar 14, 2025
Let’s Encrypt with OCI Certificates Service
Mar 05, 2025
PeopleSoft LOADCACHE Propagation
Dec 30, 2024

psadmin.conf 2025 – May 19-21, 2025!
Dec 17, 2024
psst…Cloud Manager now supports Vault!
Oct 10, 2024
Improving OCI Stacks with Schema Documents
Sep 23, 2024
New PeopleTools Upgrade Projects
Jun 10, 2024
Gathering BaseDB Info for Support Requests
May 14, 2024
OCI – 04 – Build Servers
Dec 05, 2023

psadmin.conf 2024 – May 20-22, 2024!
Nov 29, 2023

Monitoring PeopleSoft Uptime with Heartbeat
Nov 06, 2023
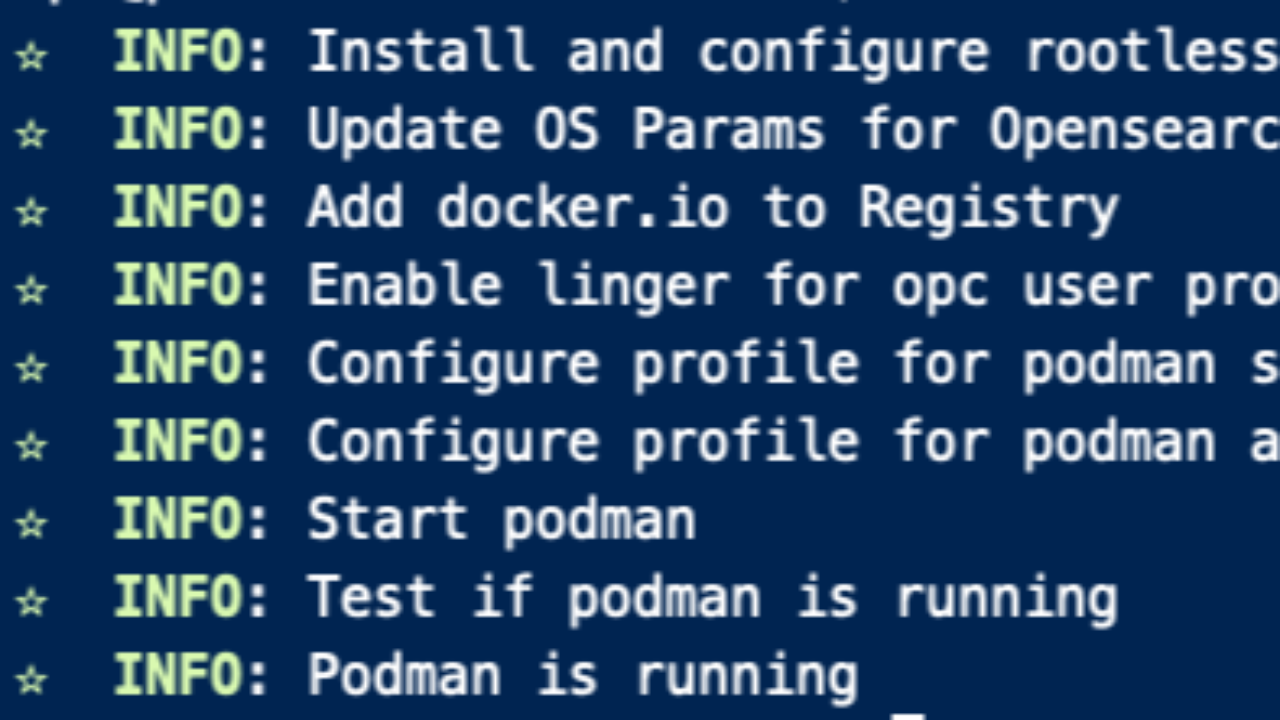
Rootless Podman on Oracle Linux
Oct 31, 2023
