Script WebLogic and Java Patches
In December, we talked quite a bit about patching Java and WebLogic on the blog and podcast. There was a WebLogic CVE, and then a… Read More »Script WebLogic and Java Patches
In December, we talked quite a bit about patching Java and WebLogic on the blog and podcast. There was a WebLogic CVE, and then a… Read More »Script WebLogic and Java Patches
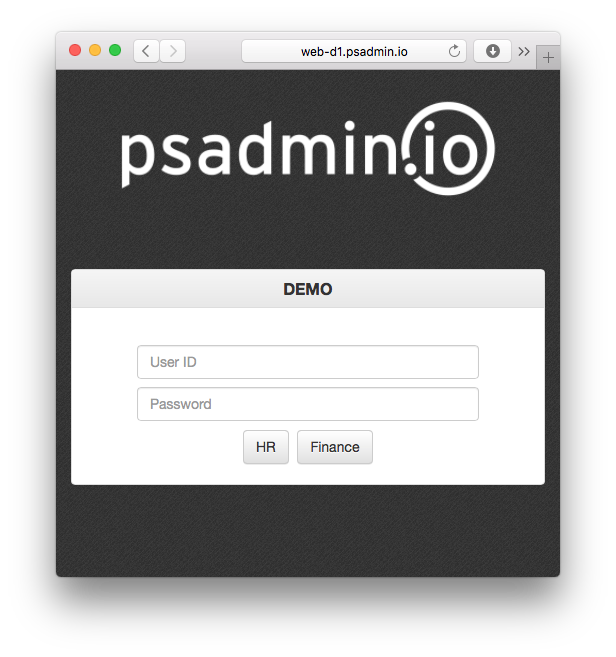
Customizing the PeopleSoft signon page is common. Many organizations update the look to match their brand or style. Recently, I had to update the signon page… Read More »Custom Signon Page – 2 Environments
In PeopleTools 8.55, Cross-Orign Resource Sharing (CORS) is now supported. Don’t know what CORS allows? Here is a good primer on the topic. The Same-Origin… Read More »8.55 – Cross-Origin Resource Sharing
Let’s Encrypt is a service provided by the Internet Security Research Group to provide free SSL certificates to anyone. The goal of the project is… Read More »Let’s Encrypt with PeopleSoft
With the recent attacks on SSL, WebLogic and Java, I wanted to give an overview on how you patch Java for your WebLogic instances. When… Read More »How to Patch Java in WebLogic
Oracle has released a patch for the latest CVE against WebLogic, so I wanted to walk though the steps to apply the patch to WebLogic… Read More »How to Apply WebLogic Patches
A standard requirement when doing PeopleSoft maintenance is to change the normal sign in page. When the system is offline, we often like to display a maintenance… Read More »Maintenance Page with Backdoor Login

In episode 3 of The PeopleSoft Administrator Podcast, Dan and Kyle talk about HTTPS. We discuss what HTTPS is and how to implement HTTPS with… Read More »#3 – HTTPS and WebLogic