New PeopleTools Upgrade Projects
It’s a sad day for poor project PPLTLS84CUR. For PeopleTools upgrades they used to be the star of the show, but no longer. Starting in… Read More »New PeopleTools Upgrade Projects
It’s a sad day for poor project PPLTLS84CUR. For PeopleTools upgrades they used to be the star of the show, but no longer. Starting in… Read More »New PeopleTools Upgrade Projects
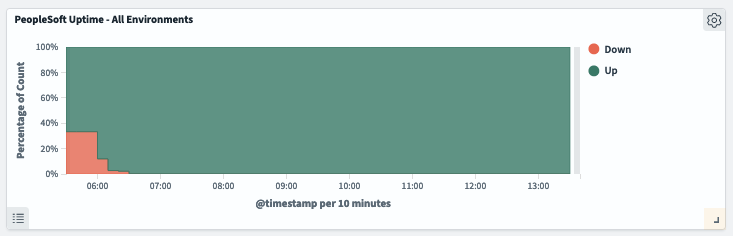
Heartbeat is a lightweight utility from Elasticsearch that can help you monitor the status and uptime of different applications. In our case, we can use… Read More »Monitoring PeopleSoft Uptime with Heartbeat
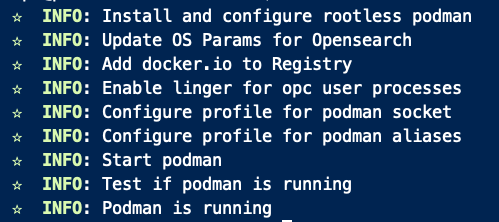
This is one of those blog posts I write for myself because I want it to show up when I Google this the next time.… Read More »Rootless Podman on Oracle Linux
If you want to catch up on the project, you can get the last posts’ code here: https://github.com/ocadmin-io/oci.minecraft/tree/02-terraform Virtual Cloud Networks The first resource we will… Read More »OCI – 03 – Build a VCN

After creating a Git repository to track our first Terraform project, I updated my bash prompt to show me the git branch. This information is… Read More »OCI – 02a – Bash Prompt
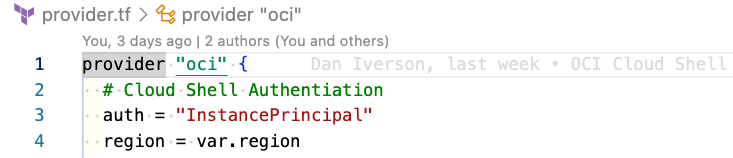
In our fresh tenancy, the first thing we’ll do is connect Terraform. We will use Terraform to build resources as a first option, and a… Read More »OCI – 02 – Connecting Terraform
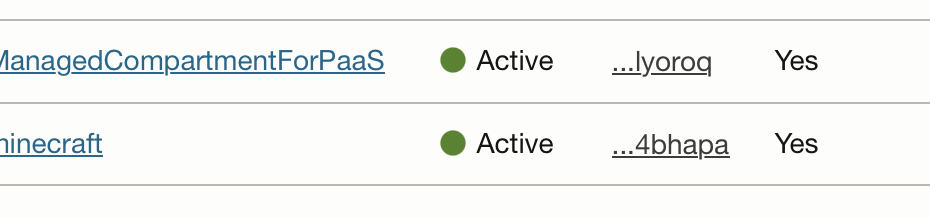
Recently, I created a new Oracle Cloud Infrastructure environment and decided to document the steps I went through to go from a brand-new tenancy to… Read More »OCI – 01 – Setting Up a New Tenancy
You can run PeopleSoft Images on your laptop using three tools that work seamlessly together: VirtualBox, Vagrant, and Vagabond. VirtualBox is virtualization software to run… Read More »Build a PeopleSoft Image – On Your Laptop with Vagabond
We have released new branding themes for PeopleTools 8.60! The new themes use colors that better match the new Redwood UI color palette, and the… Read More »Themes for PeopleTools 8.60
You can now register for psadmin.conf 2023! Click here to see more information and register. psadmin.conf is a conference specifically for PeopleSoft Administrators. The conference… Read More »psadmin.conf 2023 Registration is Open!