Build a PeopleSoft Image – On Your Laptop with Vagabond

YouTube player

You can run PeopleSoft Images on your laptop using three tools that work seamlessly together: VirtualBox, Vagrant, and Vagabond.

  • VirtualBox is virtualization software to run a VM on your laptop (any Intel-based laptop, not Apple Silicon-based Macs)
  • Vagrant is a tool to interact with VirtualBox that can automate VM builds
  • Vagabond is an open source tool that delivers automation to build a PeopleSoft Image.

Download and install VirtualBox and Vagrant on your laptop.

Next, you will need to download Vagabond from GitHub. The preferred way to to download is via git (you can install Git but it’s optional). Without git, you can click on the latest Release and download the zip file.

cd ~/Downloads
# unzip ps-vagabond*.zip if downloading from the Releases
git clone https://github.com/psadmin-io/ps-vagabond.git
cd ps-vagabond

There are two configuration files we need to run Vagabond:

  • config.rb
  • psft_customizations.yaml

Vagabond delivers example versions of each of these files and we can copy the .example files.

cd config
copy-item ./psft_customizations.yaml.example psft_customizations.yaml
copy-item ./config.rb.example config.rb
cd ..

You only need to modify the psft_customizations.yaml file if you are building a Finance or Interaction Hub image. You need to modify the default user to be VP1 instead of PS.

The config.rb file you must modify to make Vagabond work. It needs two pieces of information: your My Oracle Support Credentials, and a Patch ID for the PeopleSoft Image.

MOS_USERNAME="dan@psadmin.io"
MOS_PASSWORD="password"

PATCH_ID="34775556"

Now you are ready to build the PeopleSoft Image.

vagrant up

You will see output from Vagrant displaying the different tasks it handles setting up the VM. Vagrant will download a base Oracle Linux 8 VM, create a new VirtualBox VM, configure the networking, and start provisioning. Provisioning is the set of scripts that Vagabond provides to automate the download and building of PeopleSoft Images. Below is a (simplified) version of the output you will see as Vagabond runs.

Bringing machine 'ps-vagabond' up with 'virtualbox' provider...
==> ps-vagabond: Importing base box 'generic/oracle8'...
==> ps-vagabond: Setting the name of the VM: 34775556
==> ps-vagabond: Configuring and enabling network interfaces...
==> ps-vagabond: Mounting shared folders...
    ps-vagabond: /vagrant => /Users/dan/Downloads/ps-vagabond
    ps-vagabond: /media/sf_34775556 => /Users/dan/Downloads/ps-vagabond/dpks/download
==> ps-vagabond: Running provisioner: networking_setup (shell)...
    ps-vagabond:  ☆  INFO: 
    ps-vagabond:  ☆  INFO: 
    ps-vagabond:  ☆  INFO: ===> Add '192.168.56.34 psvagabond psvagabond.psadmin.local' to your hosts file
    ps-vagabond:  ☆  INFO: 
    ps-vagabond:  ☆  INFO: 
==> ps-vagabond: Running provisioner: storage (shell)...
==> ps-vagabond: Running provisioner: bootstrap-lnx (shell)...
    ps-vagabond: 
    ps-vagabond: 
    ps-vagabond:                                       dP                               dP 
    ps-vagabond:                                       88                               88 
    ps-vagabond:   dP   .dP .d8888b. .d8888b. .d8888b. 88d888b. .d8888b. 88d888b. .d888b88 
    ps-vagabond:   88   d8' 88'  `88 88'  `88 88'  `88 88'  `88 88'  `88 88'  `88 88'  `88 
    ps-vagabond:   88 .88'  88.  .88 88.  .88 88.  .88 88.  .88 88.  .88 88    88 88.  .88 
    ps-vagabond:   8888P'   `88888P8 `8888P88 `88888P8 88Y8888' `88888P' dP    dP `88888P8 
    ps-vagabond:                          .88 
    ps-vagabond:                      d8888P 
    ps-vagabond: 
    ps-vagabond: 
    ps-vagabond:  ☆  INFO: Updating installed packages
    ps-vagabond:  ☆  INFO: Installing additional packages
    ps-vagabond:  ☆  INFO: Disable SELinux for PeopleSoft Images
    ps-vagabond:  ☆  INFO: Downloading patch files
    ps-vagabond:  ☆  INFO: Unpacking DPK setup scripts
    ps-vagabond:  ☆  INFO: Executing Pre setup script
    ps-vagabond:  ☆  INFO: Executing DPK setup script
    ps-vagabond:  ☆  INFO: Install psadmin_plus
    ps-vagabond:  ☆  INFO: Open Firewall Ports
    ps-vagabond: 
    ps-vagabond:  TASK                         DURATION
    ps-vagabond: ========================================
    ps-vagabond:  install_psadmin_plus         00:00:01
    ps-vagabond:  download_patch_files         00:13:36
    ps-vagabond:  unpack_setup_scripts         00:00:41
    ps-vagabond:  execute_pre_setup            00:00:00
    ps-vagabond:  install_additional_packages  00:01:29
    ps-vagabond:  update_packages              00:03:40
    ps-vagabond:  open_firewall_ports          00:00:02
    ps-vagabond:  execute_psft_dpk_setup       01:00:56
    ps-vagabond:  generate_response_file       00:00:00
    ps-vagabond:  disable_selinux              00:00:00
    ps-vagabond: ========================================
    ps-vagabond:  TOTAL TIME:                  01:20:25
    ps-vagabond: 
==> ps-vagabond: Running provisioner: cache-lnx (shell)...
    ps-vagabond:  ☆  INFO: Copying Manifests
    ps-vagabond:  ☆  INFO: Fix DPK App Engine Bug
    ps-vagabond:  ☆  INFO: Pre-load Application Cache
    ps-vagabond: 
    ps-vagabond:  TASK                         DURATION
    ps-vagabond: ========================================
    ps-vagabond:  fix_dpk_bug                  00:00:02
    ps-vagabond:  load_cache                   00:21:03
    ps-vagabond:  download_manifests           00:00:00
    ps-vagabond: ========================================
    ps-vagabond:  TOTAL TIME:                  00:21:05
    ps-vagabond: 

To access the PeopleSoft Image from a browser, you first need to add a hosts entry. In the output, you’ll see the text you need to add to the file.

For Windows, the file is located at C:\Windows\System32\drivers\etc\hosts, and Mac/Linux the file is /etc/hosts. From our example above, you would add this line to the file:

192.168.56.34 psvagabond psvagabond.psadmin.local

Then you can access the PeopleSoft Image at http://psvagabond.psadmin.local:8000/ps/signon.html

A few tips for working with Vagrant VMs. It’s very easy to take a snapshot as a backup of the VM. I always take a snapshot right after building the image.

vagrant snapshot save build

If you need to stop or start the VM, use these commands:

vagrant halt        # stop the VM
vagrant up          # start the VM
vagrant suspend     # pause the VM
vagrant resume      # unpause the VM

You can also SSH into the VM if you want to access the server:

vagrant ssh

Themes for PeopleTools 8.60

We have released new branding themes for PeopleTools 8.60! The new themes use colors that better match the new Redwood UI color palette, and the underlying stylesheets use the new CSS variables in 8.60.

There are 10 colors to choose from in this release.

But, it’s also very easy to change the colors, or even make your own based on this project. Starting with PeopleTools 8.60, there are new CSS variables to simplify branding changes. There are only 2 color variables used in this project:

:root {
  --pt-banner-background-color: #1374BA; /* Primary */
  --pt-border-contrast-color: #2C526E; /* Accent */
  --pt-strip-height: 0px;
}

You can modify these colors to suit your needs and make the themes match your own branding requirements. The --pt-strip-height variable is to hide the Redwood color strip in the default theme.

The goal of our themes is to simply change the header color (for Fluid and Classic) so you know which environment you are working in. But you can take these new CSS variables and change so much more.

To install the themes, download the IO_STYLE_REDWOOD.zip file from Github and use the Data Migration Workbench to import the project. You can read more about the project and how install it on GitHub.

Building a PeopleSoft Image – OCI Marketplace

In this video we will build a new PeopleSoft Image to check out some of the newer features. We will use OCI to host our image because the PeopleSoft team provides us with images that are ready to build. We just need to provide some passwords and away we go.

YouTube player

OCI Marketplace Images

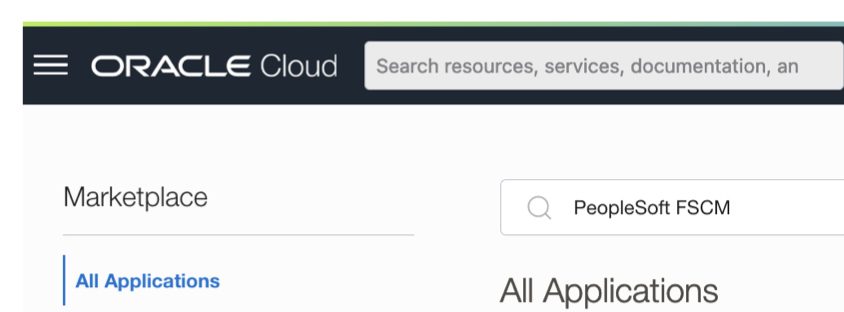
The OCI Marketplace is where you can find pre-packaged software ready to deploy on OCI. Each new image release, the PeopleSoft team pushes a new build for each application. For this demo, we will use Finance Image 46.

There are a few benefits to the OCI Marketplace-based PeopleSoft Images over other methods.

  • No need to download DPK files to a server
  • They come with Elasticsearch and Kibana pre-packaged
  • They are updated each release and easy to build for developers
  • Doesn’t require Cloud Manager or MOS Download rights

There are a few drawbacks to using these images though.

  • They don’t support the new VM.Standard Flex shapes
  • You need an OCI account and privileges to create a new instance (and virtual cloud network)

Boot Volume

When building a Marketplace-based Image, you must increase the boot volume to at least 200GB. This will ensure there is plenty of space to extract the DPK files and install PeopleSoft.

Generate Passwords

You can enter these by hand – it’s a JSON string – but there are different requirements for each password. You can use the sample JSON below for reference, but let’s take a quick tangent and I’ll show you how I generated my passwords.

The secret is psst

To run psst, you need Python and Git installed:

For Windows you can use Powershell and Chocolatey to install these:

Set-ExecutionPolicy Bypass -Scope Process -Force; [System.Net.ServicePointManager]::SecurityProtocol = [System.Net.ServicePointManager]::SecurityProtocol -bor 3072; 
iex ((New-Object System.Net.WebClient).DownloadString('https://community.chocolatey.org/install.ps1'))

choco install python3 -y
choco install git -y

For Linux and macOS:

yum install git -y
yum install python3 -y

The psst tool is hosted on Github and you can clone the code to run it:

git clone https://github.com/psadmin-io/psst.git

cd psst
pip install .
psst secrets generate -oci

{
    "connect_pwd": "eu9P3HCj6WwI95vj498JX6Yzjk6VGS",
    "access_pwd": "hsRqmDFjyrntMEJ74fMBBwMKi",
    "admin_pwd": "0WkAoB531GXr#2AtvpNo9SZ5u-_gEh",
    "weblogic_admin_pwd": "#ma1Q4%7SrIyKmpfIT3iS!&1Q22o$x",
    "webprofile_user_pwd": "xSFb74gd2YeyvkXjh1s9tI7wDK9Dew",
    "gw_user_pwd": "xtc4IxtBkDiNpJCMT04wRXGUNHG4bQ",
    "domain_conn_pwd": "G2rxzYThC2BTKq5DfHc",
    "opr_pwd": "78rN8StJt8rvSaUwB1FAWgEMK"
}

You can copy the JSON and paste it directly into the OCI Console’s “cloud-init” section.

Host File

Our instance is created with a public IP address, but the DNS name is private to your OCI Cloud Network. To translate between the two, we will add a hosts entry to our computer. Grab both the Public IP and Internal FQDN values from the Instances page.

For Linux and macOS

echo "<ip address> <fqdn>" | sudo tee -a /etc/hosts

For Windows, add this line to the end of the file c:\Windows\System32\drivers\etc\hosts

<ip address> <fqdn>

For example, my hosts entry looks like this:

129.213.146.185 fscm046.subnet12081732.vcn12081732.oraclevcn.com

SSH Key

Linux, macOS, and WSL Users:

chmod 600 ~/Downloads/ssh-key-2022-12-08.key 
ssh -i ~/Downloads/ssh-key-2022-12-08.key opc@<IP>

PuTTY for Windows

  • Convert SSH Key to Putty Format with PuTTYGen
  • Connect with PuTTY

Ingress Rules in OCI

  1. PIA Rule

    • CIDR Block: 0.0.0.0/0
    • Destination Port: 8000
  2. Kibana Rule

    • CIDR Block: 0.0.0.0/0
    • Destination Port: 5601
  3. TNS Rule (Optional – Required for App Designer or SQL access)

    • CIDR Block: 0.0.0.0/0
    • Destination Port: 1521

(Optional) Add firewalld Rule for TNS

sudo firewall-cmd --permanent --zone=public --add-port=1521/tcp
sudo firewall-cmd --reload

#331 – psst

Dan and Kyle are back and this week they discuss SSH tips, playing Minecraft, and Kyle’s new PeopleSoft Secrets Tool (psst).

The PeopleSoft Administrator Podcast is hosted by Dan Iverson and Kyle Benson.

Show Notes


#326 – Portal Registry Migration Fixes

The PeopleSoft Administrator Podcast hosted by Dan Iverson and Kyle Benson

This week on the podcast, Kyle and Dan talk about what they learned about migrating PeopleTools Portal Registry objects.

Show Notes

Portal Registry Migration Fix

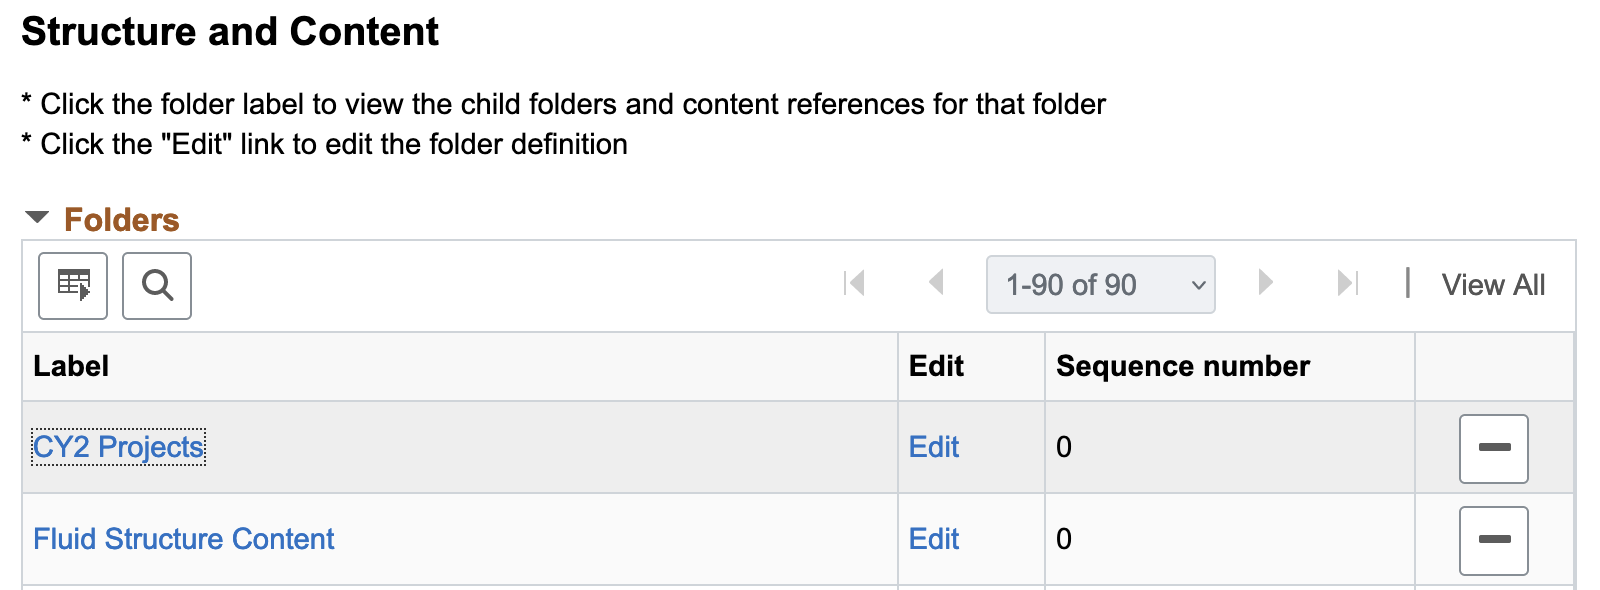
Sometimes when migrating Portal Registry objects I find that they do not show up in the Navigator, or even Structure and Content, until I clear cache, run VERSION, or even make a nominal change to the Portal Registry. We talked about this on the podcast in episode #303. I took Kyle’s idea of adding a sibling record in Structure and Content and traced what SQL was changing when saving the sibling record. There were INSERT statements for the new CREF, but there are also some important VERSION updates.

  1. Update overall VERSION to track the new changes
  2. Update the VERSION specifically for the Portal Registry object types
  3. Update the VERSION for the parent Portal Registry folder (in my case, the Root folder)

Below is a script I use with Phire; we execute this script after the object migration to make sure our new CREFs are visible.

-- Update overall VERSION for SYS and PRSM types
update PSVERSION set VERSION = VERSION + 1 where OBJECTTYPENAME in ('SYS','PRSM');

-- Update VERSION for Portal Registry objects
UPDATE PSLOCK SET VERSION = VERSION + 1 WHERE OBJECTTYPENAME = 'PRDM';
UPDATE PSLOCK SET VERSION = VERSION + 1 WHERE OBJECTTYPENAME = 'PRSM';

-- Update CREF Parent - Change PORTAL_OBJNAME as needed
UPDATE PSPRSMDEFN SET VERSION = (select VERSION from PSLOCK where OBJECTTYPENAME = 'PRSM'),  LASTUPDDTTM = TO_TIMESTAMP(sysdate,'YYYY-MM-DD-HH24.MI.SS.FF')  WHERE PORTAL_NAME = 'EMPLOYEE' AND PORTAL_REFTYPE = 'F' AND PORTAL_OBJNAME = 'PORTAL_ROOT_OBJECT';

commit;

Thanks for Andy Dorfman for catching a change in my original SQL. The first statement should include both the SYS and PRSM types.

#325 – psadmin.io Themes

The PeopleSoft Administrator Podcast hosted by Dan Iverson and Kyle Benson

This week on the podcast, Kyle and Dan talk about the new psadmin.io Themes for PeopleTools 8.59 (and 8.58), using the OCI Auto Scale project to save money on OCI, and the benefits of blogging.

Show Notes

psadmin.io Themes for PeopleTools 8.59

We are releasing our newest version of our Themes for PeopleSoft 8.59 (and 8.58). We use these stylesheets on our non-production environments so that users can easily recognize which environment they are in, and most important, know they aren’t in production.

The Themes are released as an Application Data Set that you can easiliy import into your applications. The ADS project includes stylesheets and Branding Themes.

Importing Themes

Download the new themes from the Github respository. Under the Releases, you can download the lastest IO_STYLE_859.zip release. Unpack the zip file to your Data Migration File Location.

You use the Data Migration Workbench’s “Load Project From File” feature to import the themes and stylesheets.

Assigning Themes

To set the main theme for your system,

  1. Navigate to PeopleTools > Portal > Branding > Branding System Options
  2. Select the IO_ theme of your choice.
  3. You will also need to add a stylesheet for Classic Plus. Add the cooresponding IO_<color>_859_PTCP_SS as an additional stylesheet.

  1. If you have set Theme Assignments, you can update those as well under PeopleTools > Portal > Branding > Assign Branding Themes

SQL for Refreshes

Typically, the IO_STYLE_859 is load into production but not used. During your refresh, you can use the following SQL to configure your new environment to use a theme.

UPDATE sysadm.psoptions
SET
    ptbrandtheme = 'IO_GREEN_859_THEME',
    themestyletype = 'PTCP';

TRUNCATE TABLE sysadm.psoptionsaddl;

INSERT INTO sysadm.psoptionsaddl 
VALUES (
    'C',
    'CSS',
    'IO_GREEN_859_PTCP_SS',
    0
);

Colors

If you are just starting these stylesheets for your non-production environments, here is a suggestion for how to color code environments. This is how I use the colors:

Environment Color
Development 1 Green
Development 2 Teal
Development 3 Blue
Test Red
UAT/QA Grey
Sandbox Brown
Project 1 Purple
Project 2 Pink
Project 3 Yellow

I used https://colordesigner.io/ to help build the color schemes.

Orange

Primary Dark Light Accent
#FF8100 #FF5100 #FFAA00 #004757

Red

Primary Dark Light Accent
#94090D #5C0002 #D40D12 #1dfff9

Green

Primary Dark Light Accent
#097609 #075807 #70AF1A #591aaf

Purple

Primary Dark Light Accent
#553285 #36175E #9768D1 #a2d168

Blue

Primary Dark Light Accent
#0074D9 #00448D #7ABAF2 #f2b27a

Teal

Primary Dark Light Accent
#009798 #227273 #9DF3F4 #f49e9d

Yellow

Primary Dark Light Accent
#CCCC04 #8d8d03 #FFFF52 #5252ff

Brown

Primary Dark Light Accent
#A36F44 #6B4732 #F7DEB2 #b2cbf7

Pink

Primary Dark Light Accent
#AA3366 #552233 #CC5599 #55cc88

Grey

Primary Dark Light Accent
#707070 #3B3B3B #BABABA #FD7400

#322 – Control Groups

The PeopleSoft Administrator Podcast hosted by Dan Iverson and Kyle Benson

This week on the podcast, Dan shares some follow-up on the PeopleTools 8.59 Infrastructure DPK and its advantages, and then Kyle and Dan talk about using Control Groups on Linux.

Show Notes

#318 – Open Source w/ Tim Slater

The PeopleSoft Administrator Podcast hosted by Dan Iverson and Kyle Benson

This week on the podcast, Tim Slater joins us to talk about his open source PeopleSoft projects: TraceWizard, DMS-Viewer, ProjectViewer, and Pivet.

Show Notes