OCI – 03 – Build a VCN
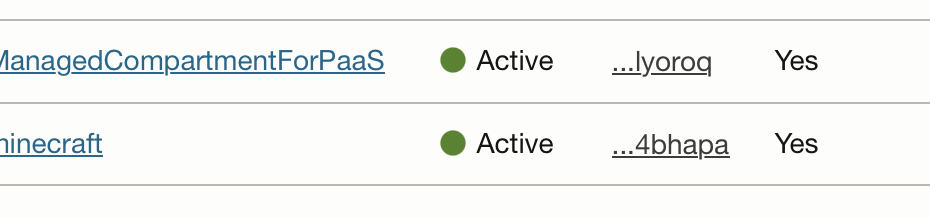
If you want to catch up on the project, you can get the last posts’ code here: https://github.com/ocadmin-io/oci.minecraft/tree/02-terraform Virtual Cloud Networks The first resource we will… Read More »OCI – 03 – Build a VCN
PeopleSoft Administrator
If you want to catch up on the project, you can get the last posts’ code here: https://github.com/ocadmin-io/oci.minecraft/tree/02-terraform Virtual Cloud Networks The first resource we will… Read More »OCI – 03 – Build a VCN

This week on the podcast, Kyle and Dan discuss the PeopleTools 8.61 Planned Features and share what they are excited about in the new release.… Read More »#338 – 8.61 Planned Features

After creating a Git repository to track our first Terraform project, I updated my bash prompt to show me the git branch. This information is… Read More »OCI – 02a – Bash Prompt
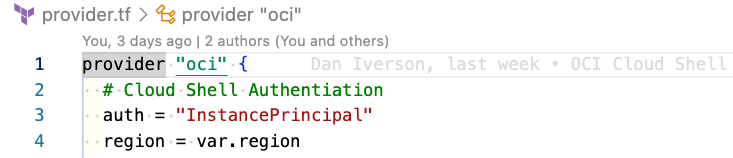
In our fresh tenancy, the first thing we’ll do is connect Terraform. We will use Terraform to build resources as a first option, and a… Read More »OCI – 02 – Connecting Terraform
Recently, I created a new Oracle Cloud Infrastructure environment and decided to document the steps I went through to go from a brand-new tenancy to… Read More »OCI – 01 – Setting Up a New Tenancy
This week on the podcast, Kyle and Dan discuss securing your public user and leaking information, how to speed up change assistant upgrade projects, and… Read More »#337 – ACM and Load Balancers
You can run PeopleSoft Images on your laptop using three tools that work seamlessly together: VirtualBox, Vagrant, and Vagabond. VirtualBox is virtualization software to run… Read More »Build a PeopleSoft Image – On Your Laptop with Vagabond
This week on the podcast, Kyle and Dan talk about the new psadmin.io Themes for 8.60, and then they discuss how they are currently using… Read More »#336 – 8.60 Themes and How we use the DPK
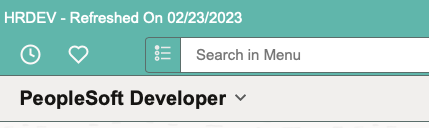
We have released new branding themes for PeopleTools 8.60! The new themes use colors that better match the new Redwood UI color palette, and the… Read More »Themes for PeopleTools 8.60
This week on the podcast, Kyle and Dan talk about the changes to the 8.60 database upgrade and the new PPTLS860 project. Dan also shares… Read More »#335 – io_homes DPK Module