
#341 – PeopleTools Pathway
This week on the podcast, Kyle and Dan about the future pathways to take to make sure you are taking advantage of the PeopleTools platform.… Read More »#341 – PeopleTools Pathway
This week on the podcast, Kyle and Dan about the future pathways to take to make sure you are taking advantage of the PeopleTools platform.… Read More »#341 – PeopleTools Pathway

Now that we have a network in our tenancy, we can start building servers to some fun software. We will continue to use Terraform and… Read More »OCI – 04 – Build Servers
This week on the podcast, Dan shares how he uses Heartbeat to track uptime in PeopleSoft and Kyle discusses the new Password Management features in… Read More »#339 – Uptime Monitoring
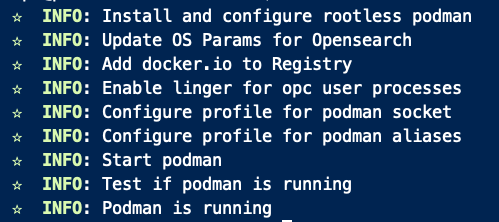
This is one of those blog posts I write for myself because I want it to show up when I Google this the next time.… Read More »Rootless Podman on Oracle Linux
If you want to catch up on the project, you can get the last posts’ code here: https://github.com/ocadmin-io/oci.minecraft/tree/02-terraform Virtual Cloud Networks The first resource we will… Read More »OCI – 03 – Build a VCN
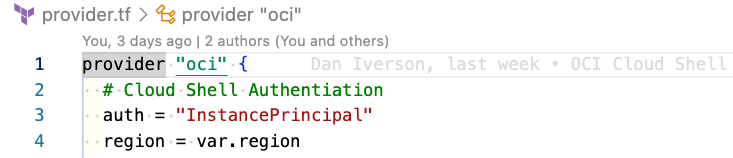
In our fresh tenancy, the first thing we’ll do is connect Terraform. We will use Terraform to build resources as a first option, and a… Read More »OCI – 02 – Connecting Terraform
Recently, I created a new Oracle Cloud Infrastructure environment and decided to document the steps I went through to go from a brand-new tenancy to… Read More »OCI – 01 – Setting Up a New Tenancy
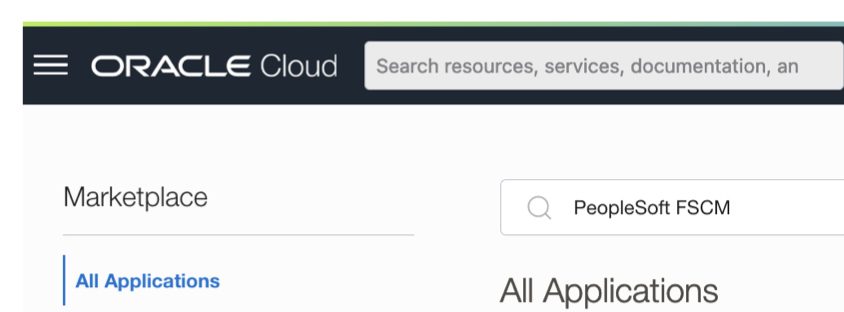
In this video we will build a new PeopleSoft Image to check out some of the newer features. We will use OCI to host our… Read More »Building a PeopleSoft Image – OCI Marketplace
The PeopleSoft Administrator Podcast hosted by Dan Iverson and Kyle Benson This week on the podcast, Dan and Kyle recap the psadmin.conf 2022 conference. Show… Read More »#328 – psadmin.conf 2022 Recap
The PeopleSoft Administrator Podcast hosted by Dan Iverson and Kyle Benson This week on the podcast, Kyle and Dan talk about mapping remote client IPs… Read More »#327 – HAProxy and OCI Load Balancer